

Installation of MOLOCH
Project Name: Installation of MOLOCH
Description: Packet Analytics includes understanding MOLOCH and Elasticsearch to great extent. In this blog we will try to figure out step by step installation of MOLOCH for Packet Analytics & Packet Forensics. Packet Forensics and Analytics will help you understand MOLOCH for Packet Analytics & Elasticsearch for forensics indexing for packet.
Author: Rohit D Sadgune
Installation of MOLOCH
# apt-get install zip
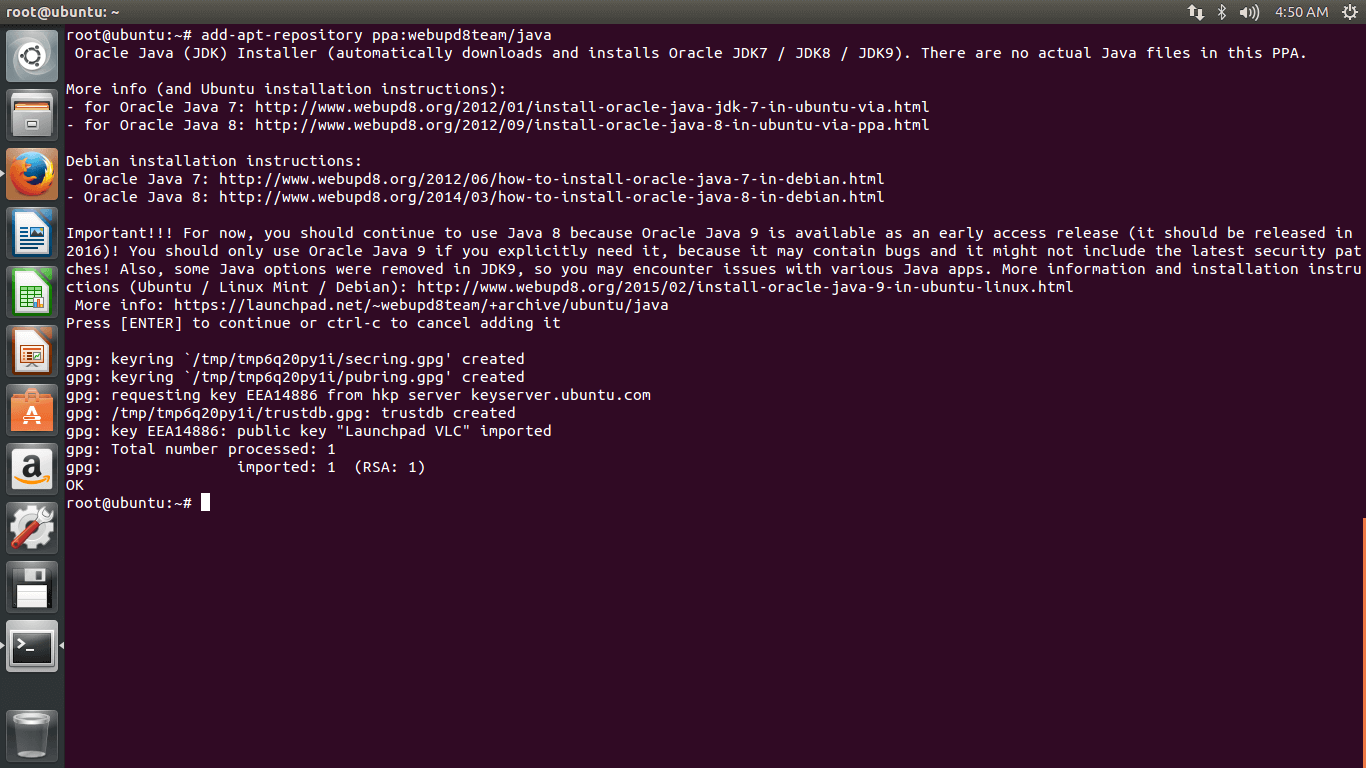
# add-apt-repository ppa:webupd8team/java
# apt-get update
# apt-get & dist-upgrade


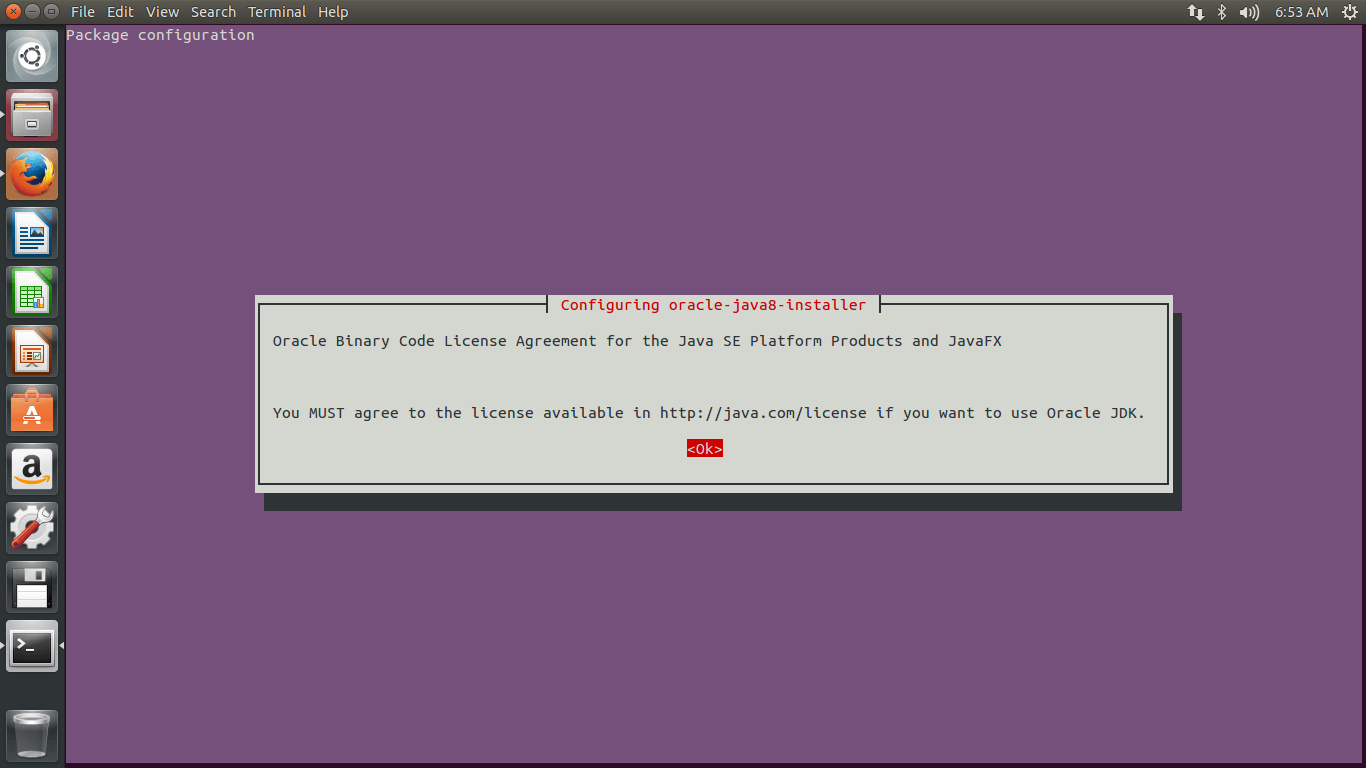
# apt-get install oracle-java8-installer


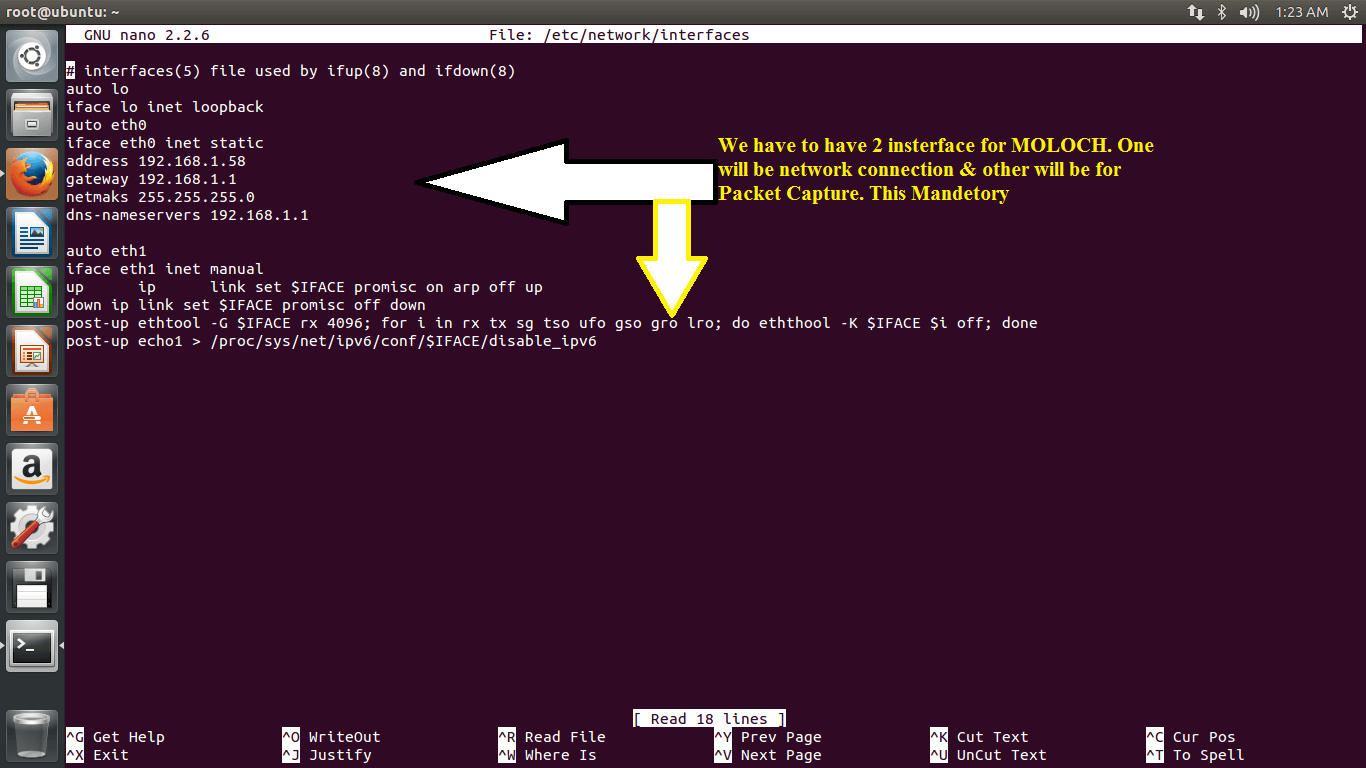
# nano /etc/network/interfaces
auto eth0
iface eth0 inet static
address 192.168.1.58
gateway 192.168.1.1
netmaks 255.255.255.0
dns-nameservers 192.168.1.1
auto eth1
iface eth1 inet manual
up ip link set $IFACE promisc on arp off up
down ip link set $IFACE promisc off down
post-up ethtool -G $IFACE rx 4096; for i in rx tx sg tso ufo gso gro lro; do eththool -K $IFACE $i off; done
post-up echo1 > /proc/sys/net/ipv6/conf/$IFACE/disable_ipv6
# reboot
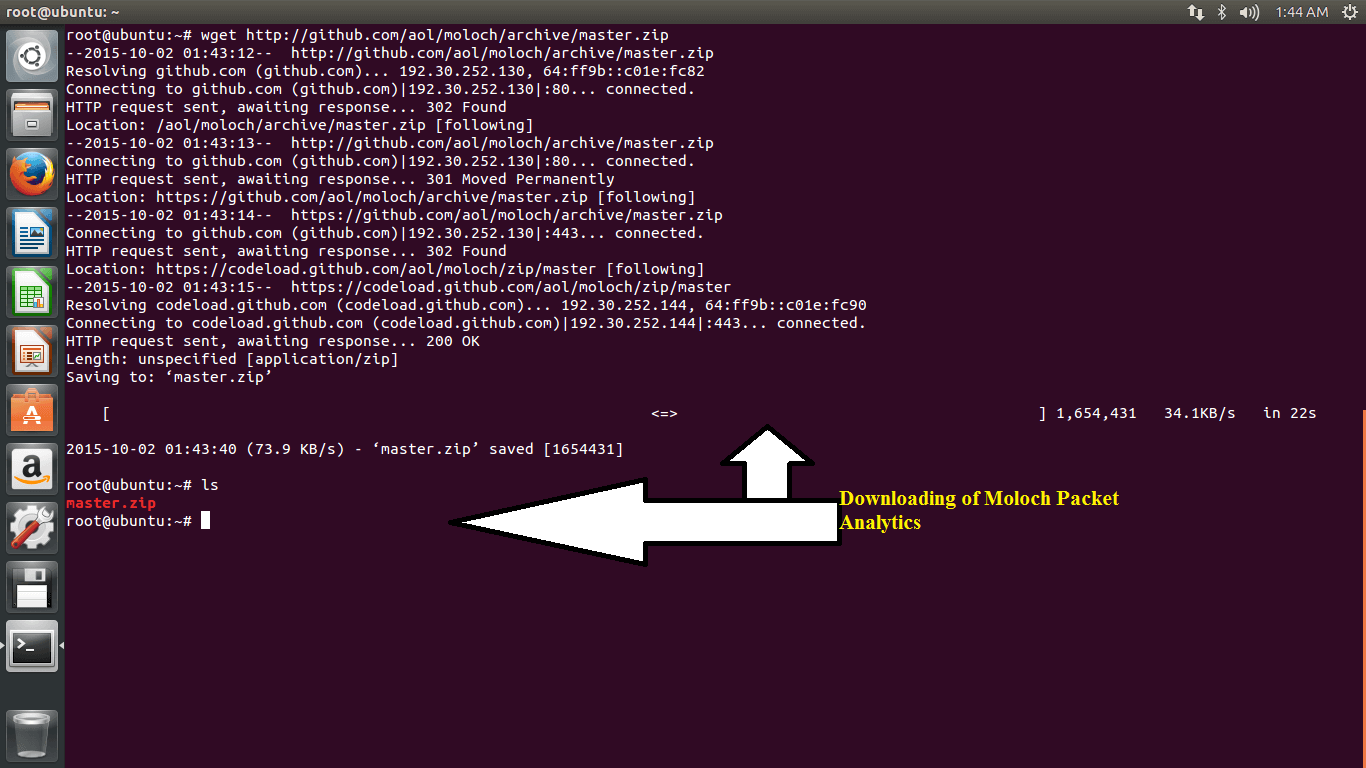
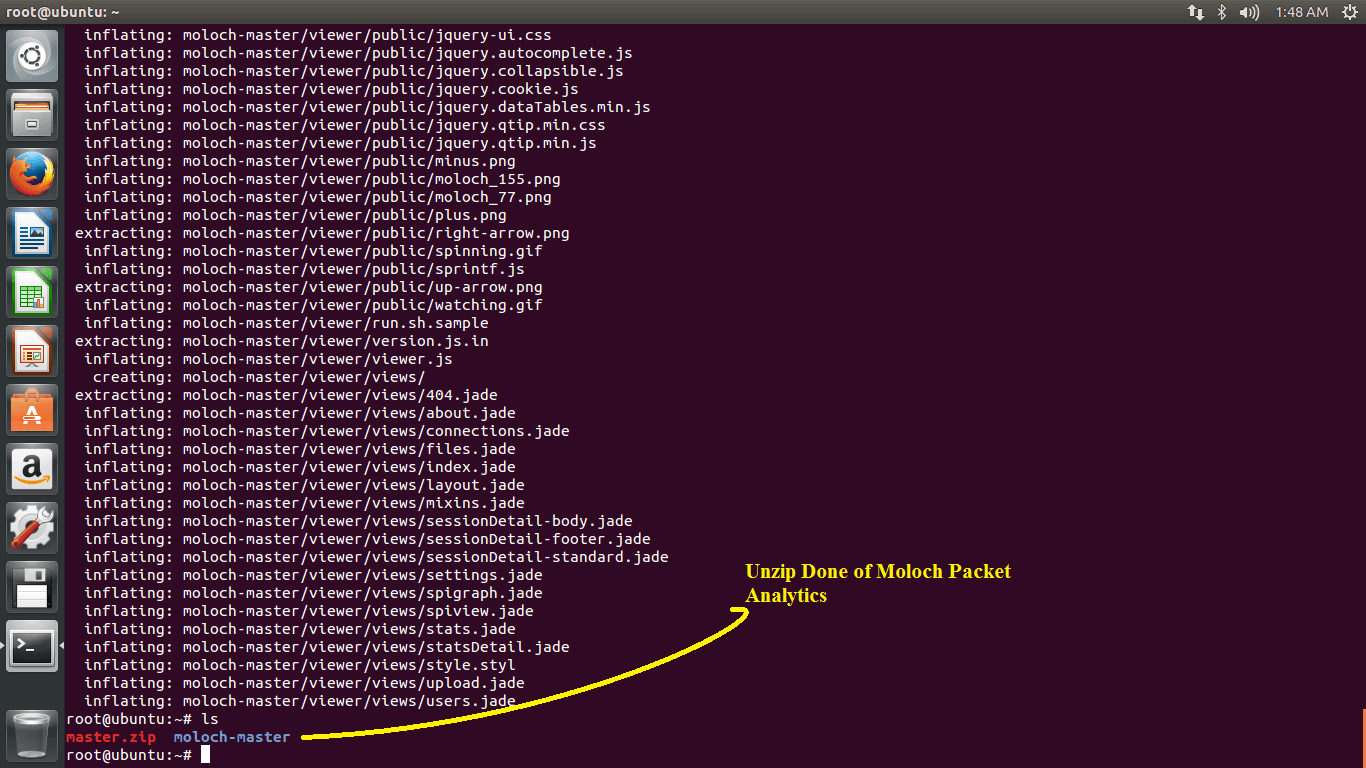
# wget http://github.com/aol/moloch/archive/master.zip
#unzip master.zip
#cd /moloch-master
# ./easybutton-singlehost.sh
NodeJS installation :- Elasticsearch requires nodejs fo json input so we are installing NodeJs as dependent package for forensics indexing.

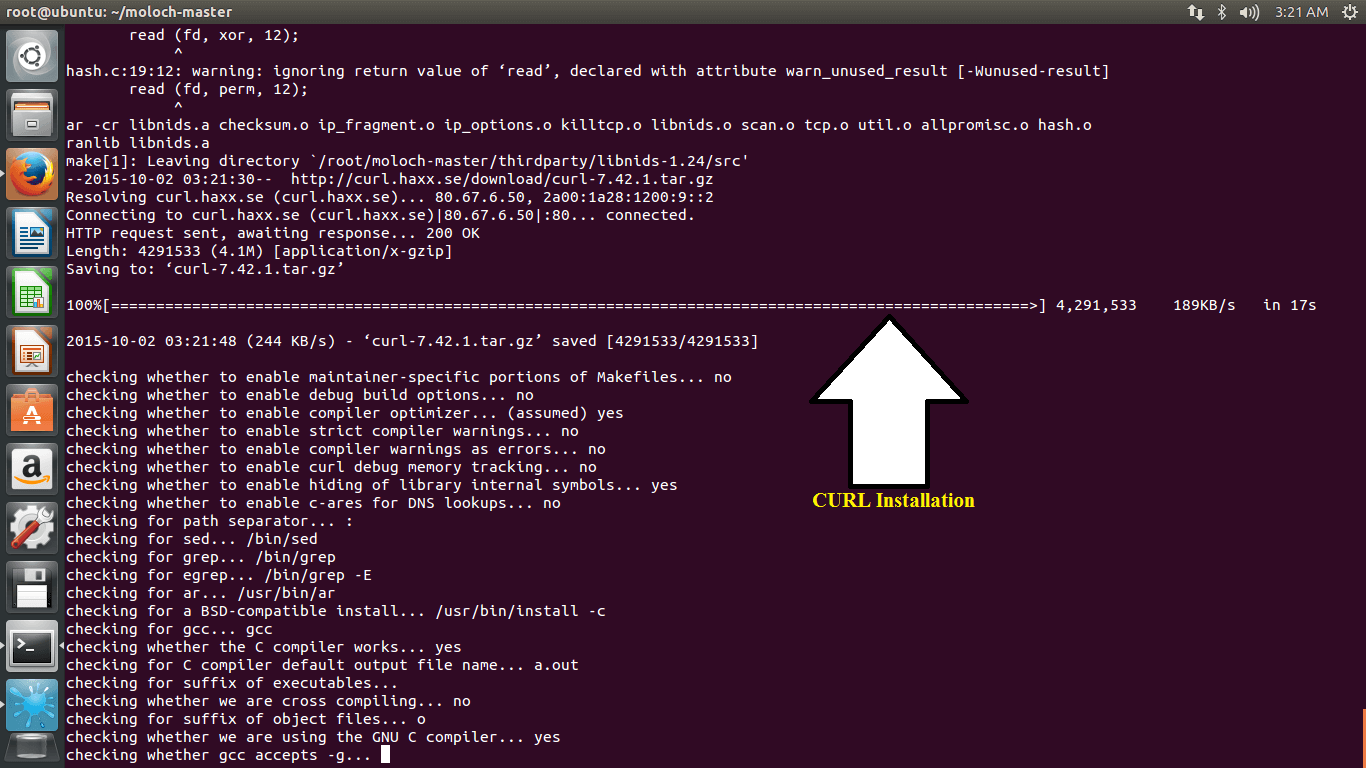
T0 give input to elasticsearch we have install CURL.
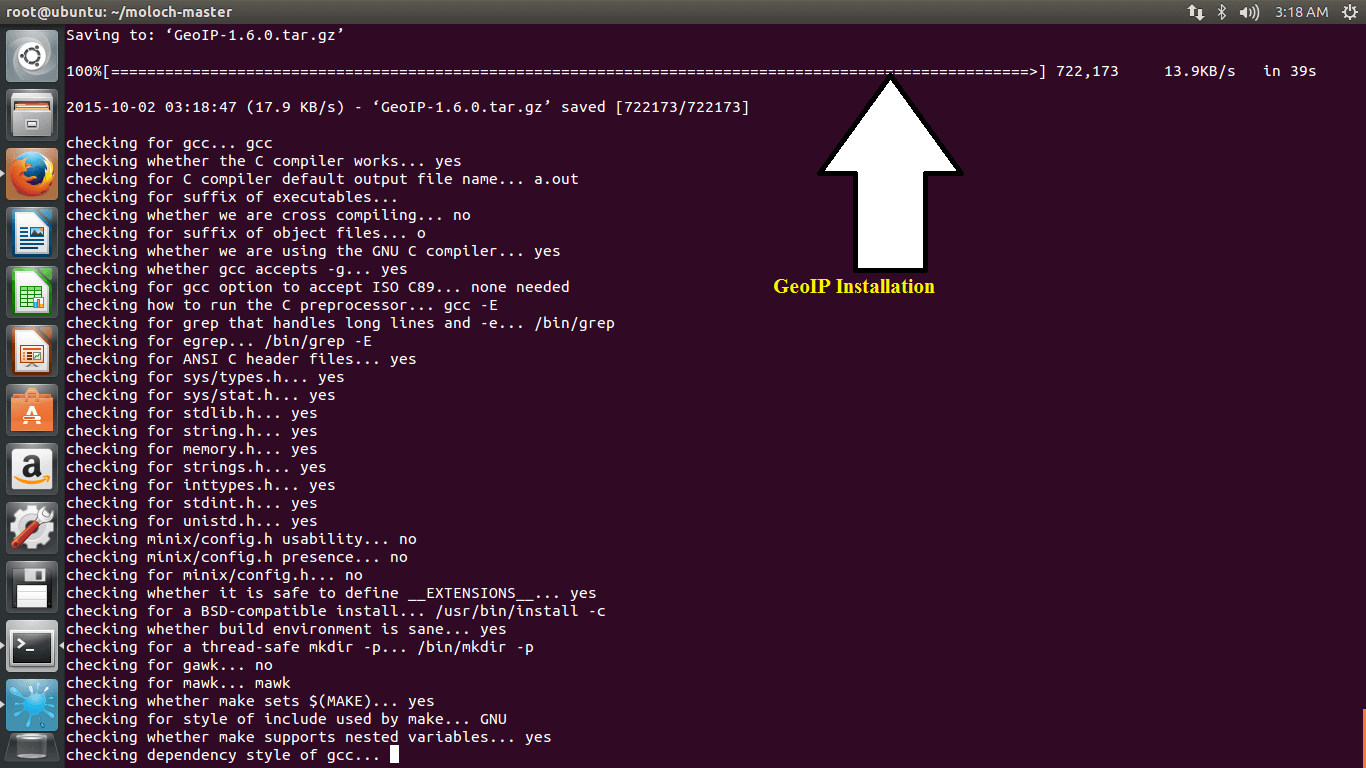
In Moloch you do analytics with geo location. i.e we can filter the traffic as per the country which help organization to segregate traffic and do deep analysis of Malware, DOS Attack, DDOS Analysis or any potential threats.
GeoIP Installation
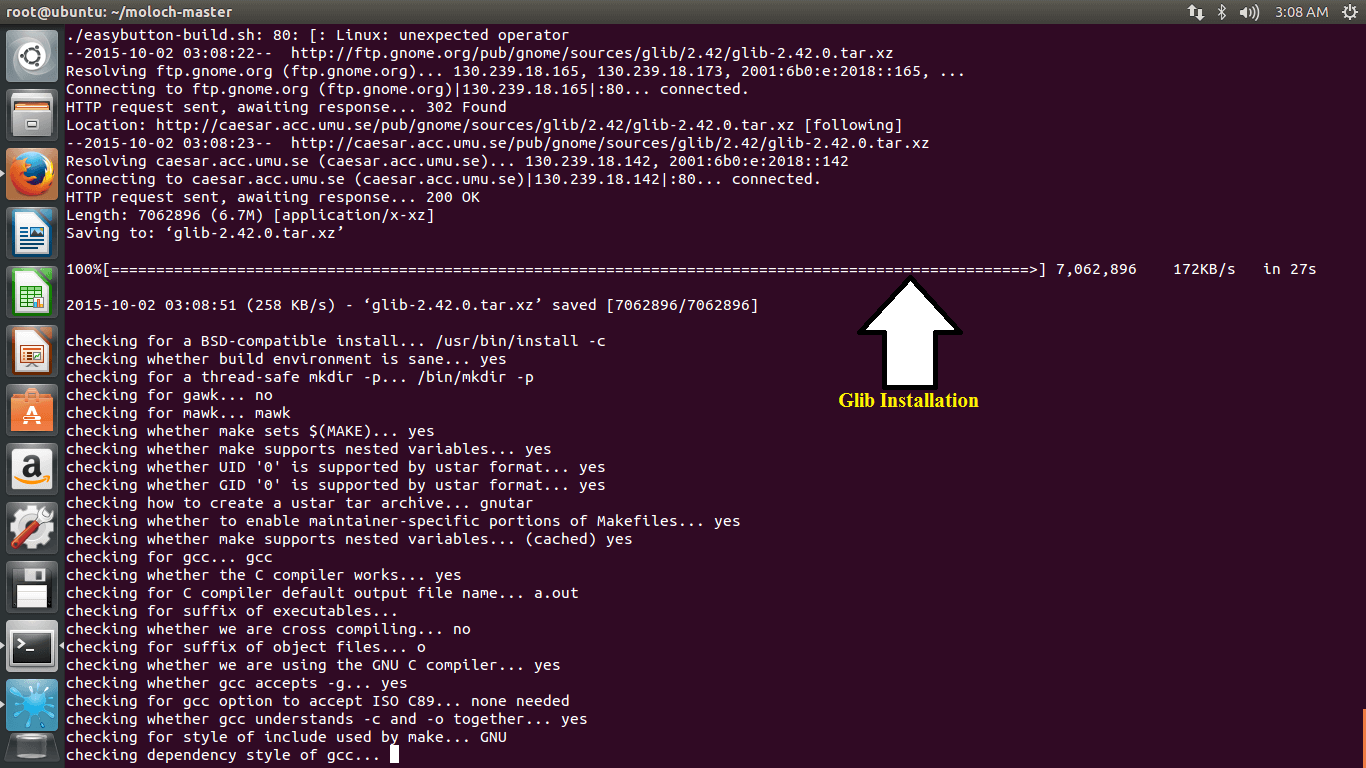
Glib Installation
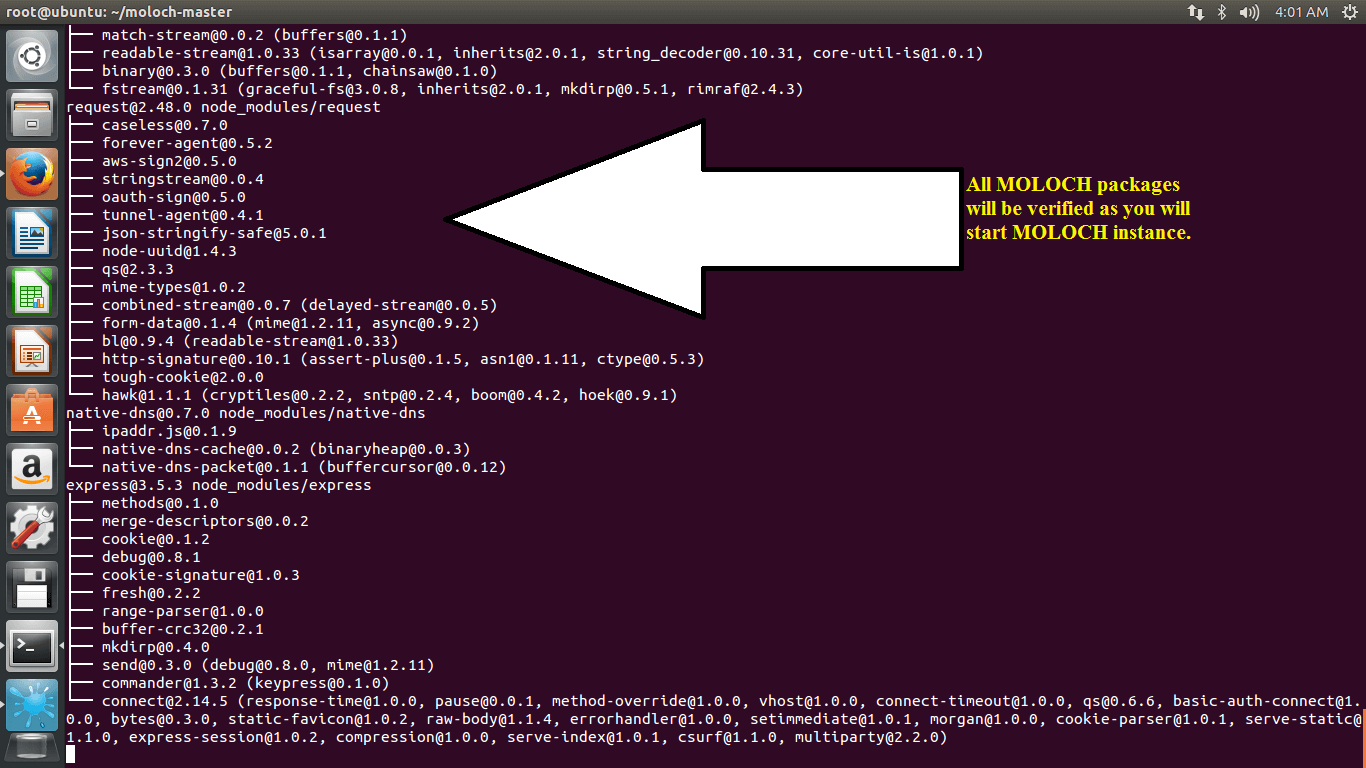
In Moloch Elasticsearch installation 2 packages we need to install
- Elasticsearch
- Elasticsearch –Head

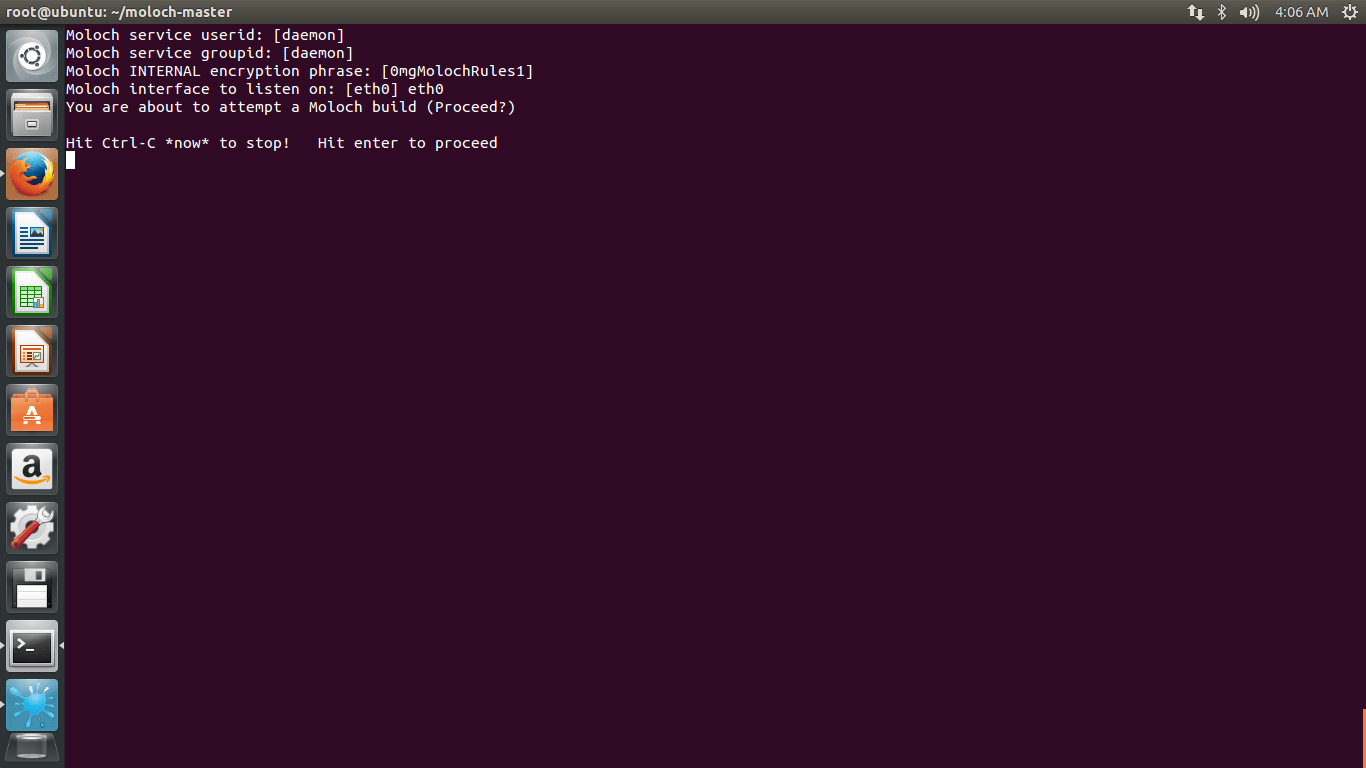
In Moloch you can define the user id and group id. For your reference here I have kept this blank but you have to assign interface on which you want to capture the network traffic for packet analytics.
# chmod 777 /data/moloch
# nano /etc/security/limits.conf
* hard nofile 500000
* soft nofile 500000

# apt-get update
# apt-get upgrade
# ./easybutton-singlehost.sh
For MOLOCH you have to specify the RAM which it can utilize for Packet Analytics.

URL :- https://127.0.0.1:8005
Default username & password for Moloch is admin:admin

MOLOCH Dashboard view

MOLOCH Connection View

Enjoy Packet Analytics & Packet Forensics with Moloch & Elasticsearch.
Back to Packet Analytics


